My Home Server Journey - From Raspberry Pi to Ryzen
Introduction
Back when I was living in a snug studio flat in London, I began my home server adventure with a Raspberry Pi 3. This move to a settled lifestyle came after years of living as a digital nomad, during which I had fully minimized my personal belongings to adapt to a constantly mobile life. The shift to a more permanent base in London marked a new chapter where I could explore more stationary tech projects like setting up a home server.
Early Stages
Around that time, WD Labs - a now defunct R&D division of Western Digital focused on innovative projects for the Raspberry Pi - sent me a Pi Drive. They were a great bunch to collaborate with at Screenly, always pushing the envelope on what could be achieved with Pi.

The Pi Drive was designed for a single 2.5” drive. I decided to mod it to hold two 1TB drives, set up as ZFS mirrors for redundancy. Running OpenMediaVault (OMV), this setup worked alright, albeit the Pi 3’s USB 2.0 ports were a bottleneck, maxing out at 480mbps across both drives. Although slow, it was a solid entry into the world of network-attached storage using ZFS raid.

I still see discussions on Reddit and other forums where people consider using a Pi for NAS solutions. Based on my experiences, my advice would be to steer clear of using a Pi for this purpose—it’s much more practical and efficient to invest in a cheap NUC instead.
Upgrading and Expanding
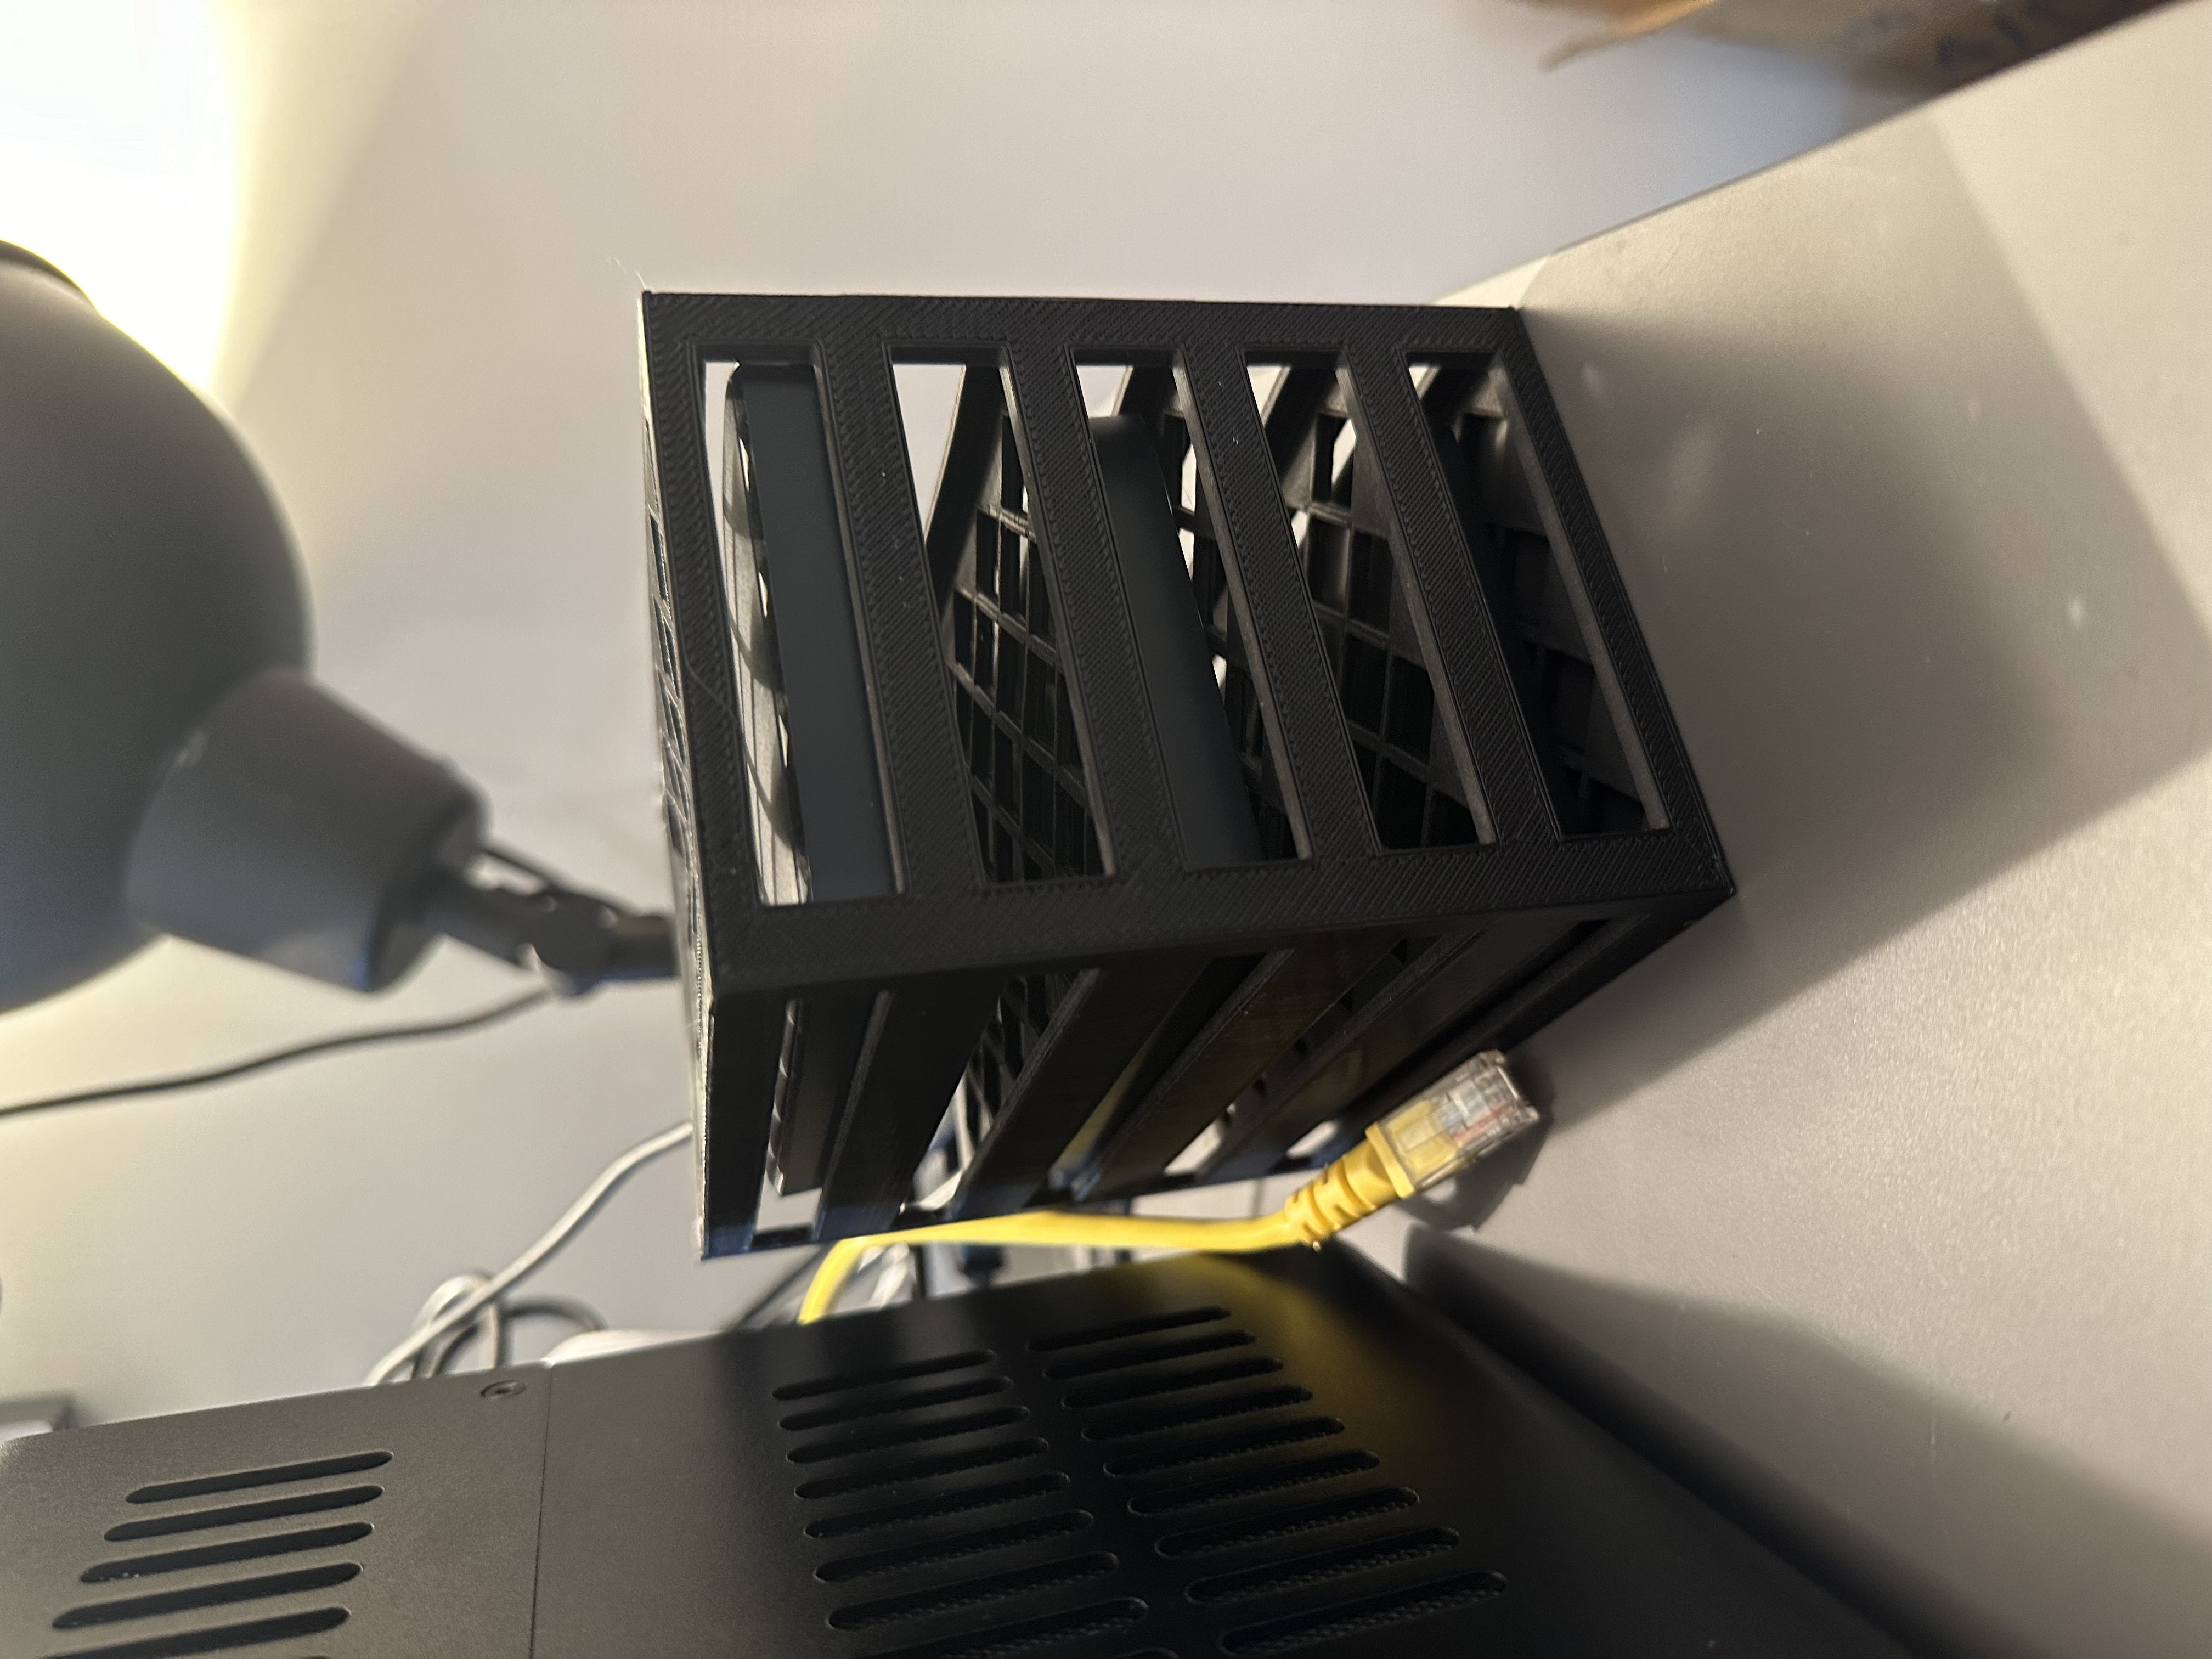
As my tinkering expanded (including my home automation), the Pi’s limitations became apparent. I needed a more robust system, so I upgraded to a NUC equipped with an i5 processor and 32GB of RAM running Proxmox. I migrated the ZFS pool from the Pi, expanded it by adding another drive while maintaining the original drives. In order to keep things tidy (and get good air flow), my friend Ivan 3D printed a great stand that could hold up to four 2.5” drives.
Over the years, I’ve had to replace at least four dead/failing 2.5” drives, but ZFS made these changes seamless without any data loss. Despite adding an SSD as cache, the setup underperformed due to USB bandwidth limitations, and the NUC eventually succumbed to the constant heavy load.
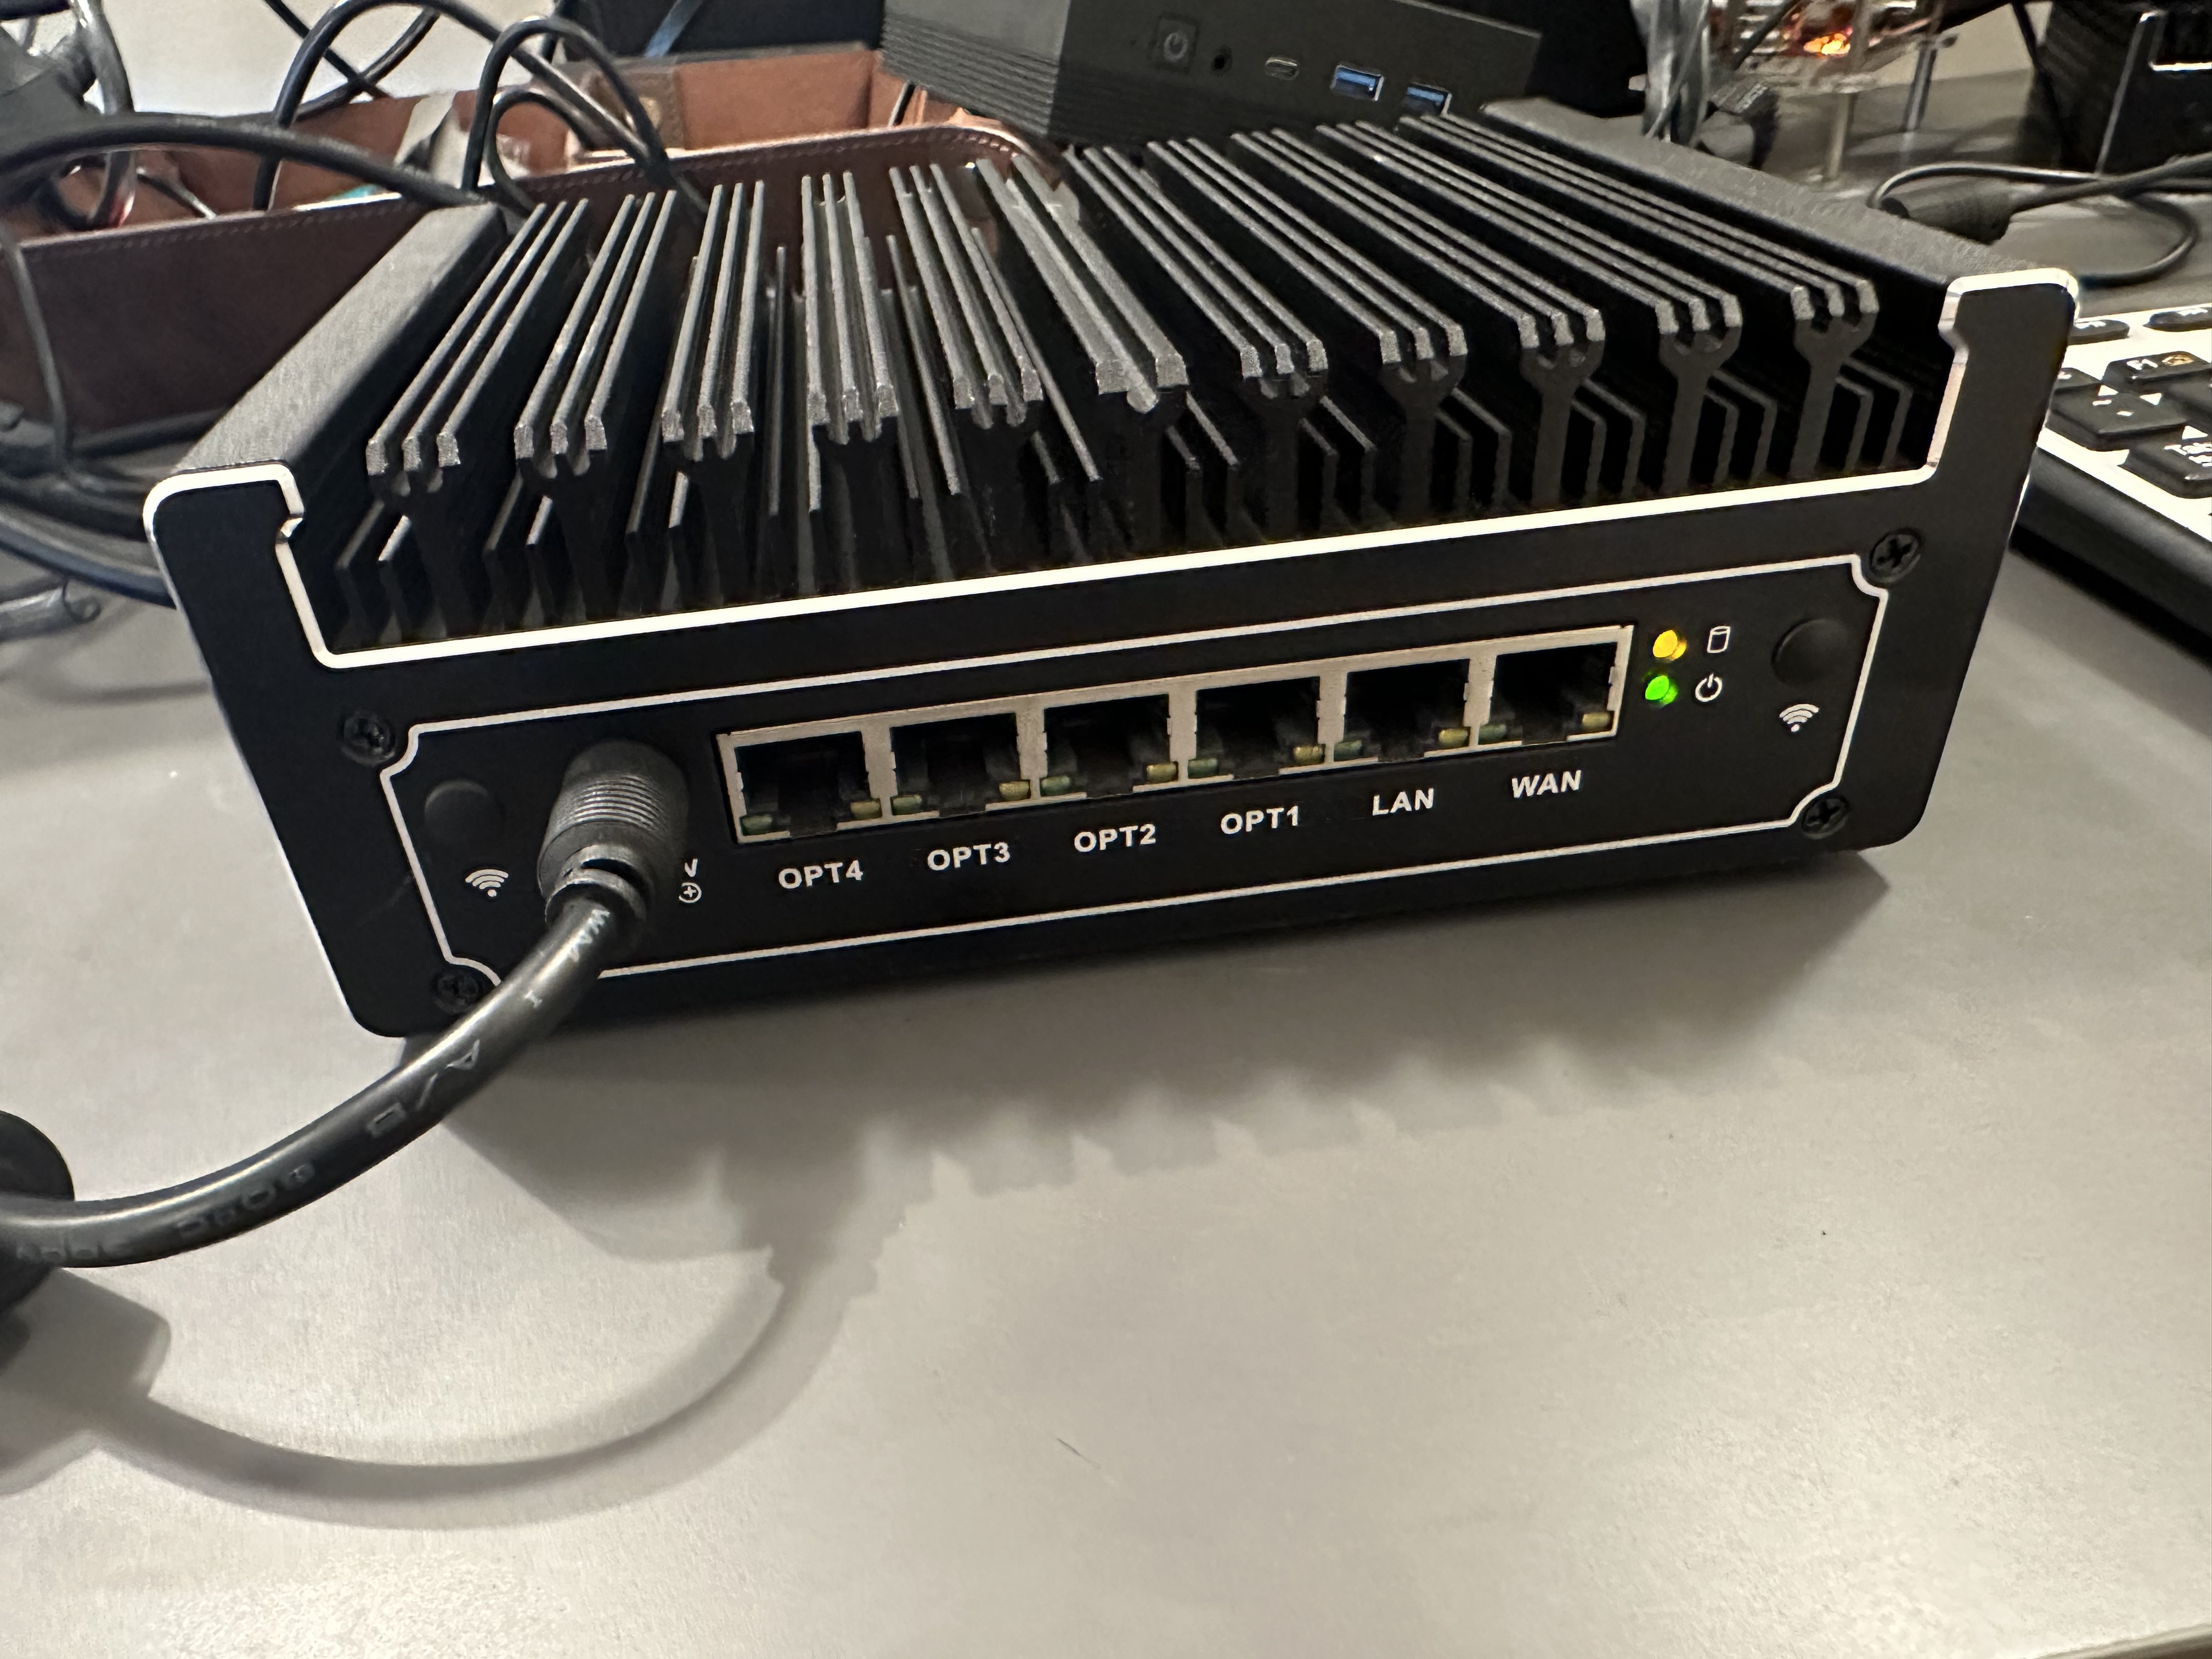
NUC to Protectli
When my NUC eventually gave in, I just happened to have a Protectli FW6E-0 on hand from another project. It came equipped with an Intel i7 processor and I had added 32GB of RAM, making it a suitable candidate to take over my home server duties. I moved my ZFS pool to this new machine and continued running Proxmox. This setup proved robust, handling my requirements well for about two years, but eventually, I felt the need for a more integrated solution to consolidate several devices into one solid, future-proof system.
Evaluating and Finalizing the New Setup
In my search for a consolidated solution, I evaluated setting up a beefy compute node alongside something like a Synology NAS. However, I decided against this arrangement due to my previous (bad) experiences with running VMs on Synology NASes over iSCSI. Since my VMs can comfortably fit across a few SSDs, I decided to look for an all-in-one solution, where I’d use the spinning drives for backups. Perhaps equally importantly, a decent spec’d Synology NAS would cost me almost as much as the final setup I ended up with (but then I’d still have to add the compute node).
After extensive research, I chose the Jonsbo N2 case for its compact yet accommodating form factor that could hold up to 5x 3.5” SATA drives. As a nice bonus, the 3.5” drives are also easily swappable from the front, removing the need to open the case when a drive eventually dies.
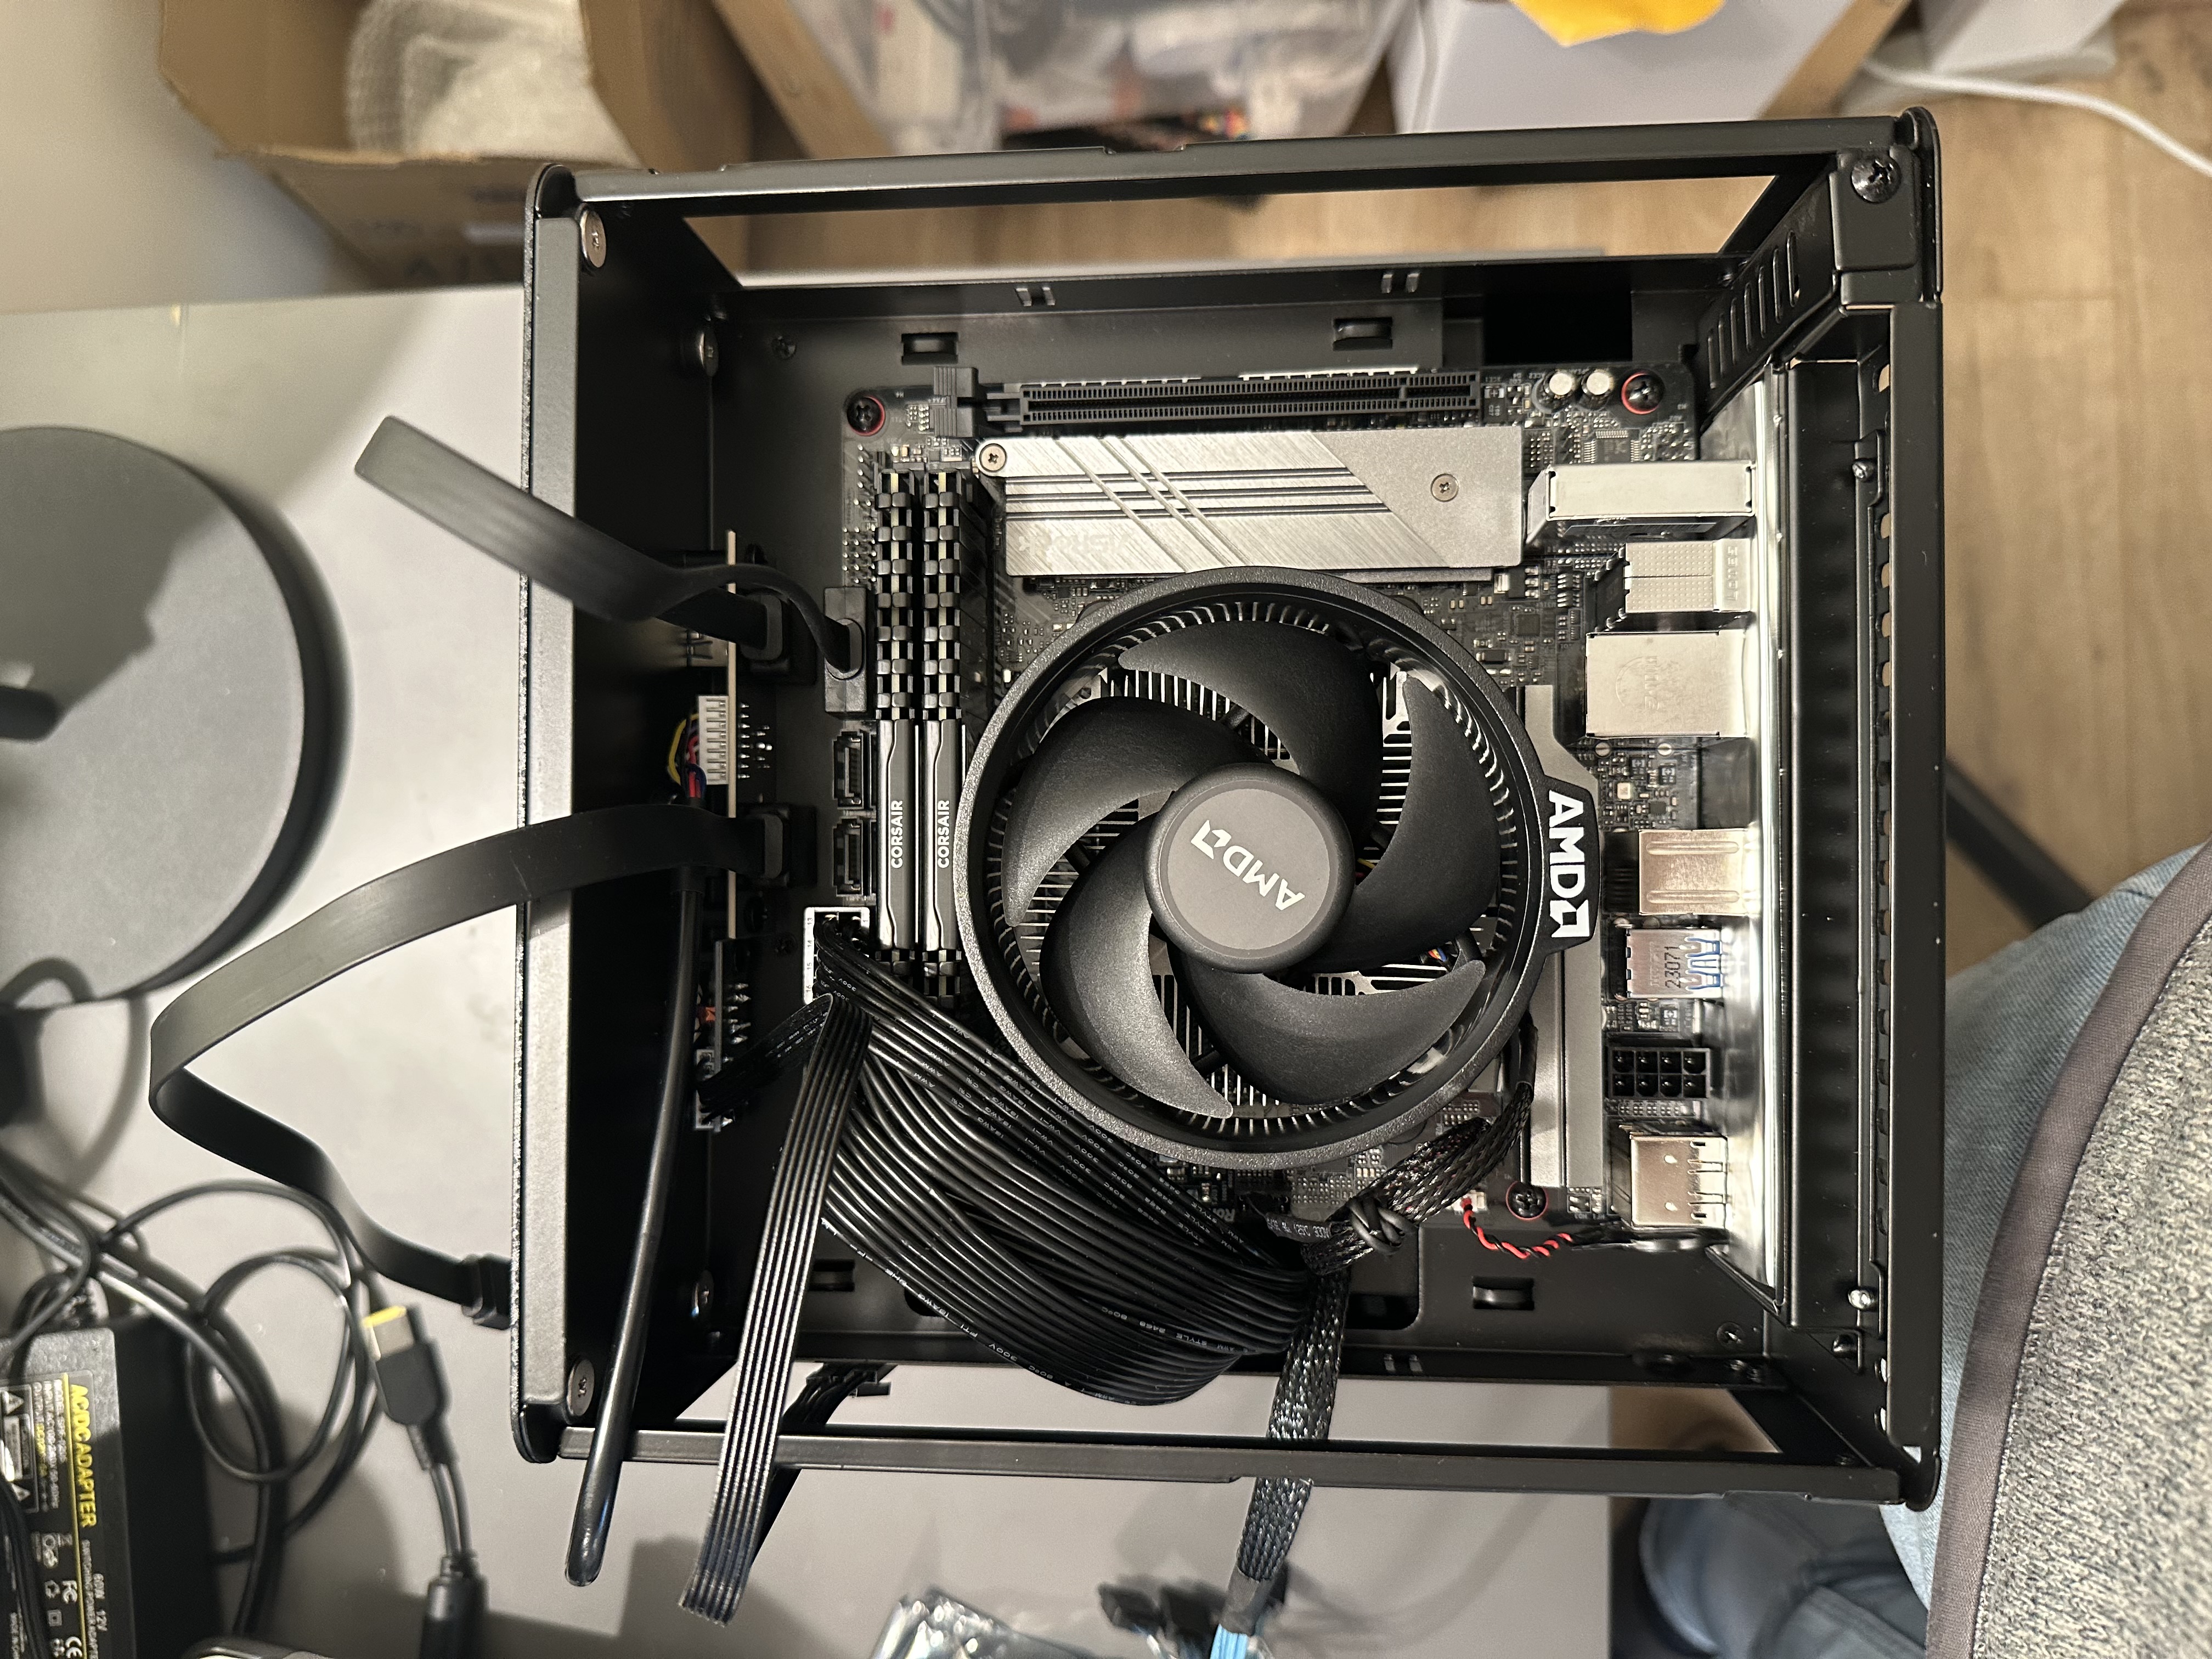
The next challenge was selecting the right motherboard. All the options I considered required some form of compromise. I was particularly looking for a motherboard with at least two PCI slots to accommodate an additional NIC for Link Aggregation Group (LAGG) with the onboard NIC and an M2 expansion card. Ultimately, I had to make a tough choice and forego LAGG due to slot limitations, settling on the ASROCK B550M-ITX/ac, which could handle my AMD Ryzen 7 5700G after a crucial BIOS update (more on that below).

And of Course Something Went Wrong
While this should have been flagged in my research, it turns out the B550M-ITX/ac supports the AMD Ryzen 7 5700G, but not without a BIOS update. The motherboard supports “instant flash,” a straightforward method, but lacks support for more sophisticated flashing methods like “BIOS Flashback” or “Q-Flash.” These methods would have allowed me to update the BIOS without needing a supported CPU installed. After scouring countless Reddit threads and tech forums for a solution, I realized that my only option was to procure a cheaper Ryzen 3 processor solely to perform the BIOS update. This workaround, although not ideal, was necessary to get my server running with the intended CPU.
I also evaluated the Ryzen 9, but since the motherboard only had one PCIe port, I was unable to fit a dedicated GPU. This left me to choose from AMD CPUs with built-in GPUs, where the 5700G is currently one of the fastest options available. The decision aligns with a future upgrade path, where I plan to swap out the CPU and motherboard for newer ITX models as they become available, ensuring that the server can continue to meet evolving performance demands.
Security Considerations and Future Plans
In my pursuit of a secure and efficient server, I really wanted TPM-backed Full Disk Encryption (FDE) for all drives along with Secure Boot (which is now supported natively in Proxmox). The complexities of implementation and reliability issues led me to give up on FDE for the root drive for now. The state of TPM-backed FDE in Linux is depressingly primitive compared to macOS and Windows, where such security measures “just work” seamlessly.
After spending a few hours both with Debian and Proxmox (which is based on Debian), I deemed it too unreliable for a headless server. LUKS based FDE with a passphrase works great, and I’ve used that for years on non-headless devices. However, once you try to use the TPM to unlock the FDE, things get complicated (and very hackish).
I briefly entertained going down the NixOS route instead of Proxmox, after having my friend Jon sold me on the benefits of Nix and NixOS over beers (and on my podcast) for some time. His post “Secure Boot & TPM-backed Full Disk Encryption on NixOS” definitely makes for a compelling argument, but I ended up sticking to Proxmox for now due to time limitations.
I’m also still using my external USB drive setup as I haven’t gotten around to ordering the 3.5” drives yet. My plan is to configure ZFS across these new drives with TPM-backed Full Disk Encryption for added security (and to save time on shredding drives when they start failing). I will add an update later with details about this.
Final Bill of Materials (BOM) for the New Server Setup:
- Case: Jonsbo N2
- Compact form factor ideal for multiple internal drives.
- Motherboard: ASROCK B550M-ITX/ac
- Supports AMD Ryzen CPUs, compact ITX form factor, essential for limited space setups.
- CPU: AMD Ryzen 7 5700G
- Powerful processor with 16 cores - suitable for heavy loads, with integrated graphics.
- RAM: 2x 32GB DDR4
- Power Supply: CWT 650W Modular 80 Plus Gold
- Boot/Root drive: 500GB M2 NVMe (plugged into the motherboard)
- Additional Storage:
- 3x M2 NVME drives for VMs in a Linkreal PCIe x16 to 4-Port M.2 NVMe SSD Adapter.
- Due to a limitation in the BIOS/motherboard, it appears as I’m only able to use 3 out of the 4 M2 drive slots.
- @TODO: 4x 4TB 3.5” SATA 7200 RPM drives (connected straigh to the motherboard).
- This will either be a Stripe + Mirror ZFS pool (or possibly RAIDZ1 with a hot spare).
- 3x M2 NVME drives for VMs in a Linkreal PCIe x16 to 4-Port M.2 NVMe SSD Adapter.
This compact setup is designed to be robust, scalable, and capable of handling substantial data loads and various server tasks efficiently. The choice of components ensures that the server is future-proofed and can accommodate additional expansions or upgrades as needed.
As things stand, the only thing that bothers me (other than the lack of TPM based FDE) is the noise level. Compared to its predecessor, it is a lot louder. This can probably be rectified with a quieter CPU fan, but that’s a problem for the future.